The Centers for Disease Control and Prevention updated their guidelines last week recommending that people wear covered masks in public spaces, especially in potentially denser areas like grocery stores and pharmacies. This announcement comes after original discouragement by health authorities regarding wearing and buying masks, but due to increasing evidence of asymptomatic carriers — those who are infected with COVID-19 but do not have symptoms — masks are now suggested to prevent “silent spreaders” from spreading germs to others around them in public.
The CDC has urged people to become crafty with homemade mask ideas, as medical-grade masks should be reserved for healthcare workers. There is a range of creative responses to this recommendation. You could go all-out scuba diver, channel a Colorado ski trip — I’m talking wool face cover, gloves and puffer coat — or even bring out the astronaut helmet you wore for Halloween when you were eight. But if you’re going for a more low-key — yet fashionable — look, this guide is for you.
If you would like to donate your homemade masks, be cautious that these cloth covers aren’t necessarily approved for healthcare staff and may not be accepted by your local hospital. However, homemade masks can still be wonderful to send to your friends, family, neighbors and others in your community. In any case, these masks provide the opportunity to learn how to sew, which, in itself, is a rare and coveted skill among college students.
This guide was inspired by various other guides, how-to-videos and my mom.
Time: 15 to 30 minutes
Supplies:
Roughly 15 x 8 inch cloth
Scissors
Ruler
Sewing kit — only a needle and string is necessary
Two elastic bands — roughly 6.5 inches each
Bobby pins
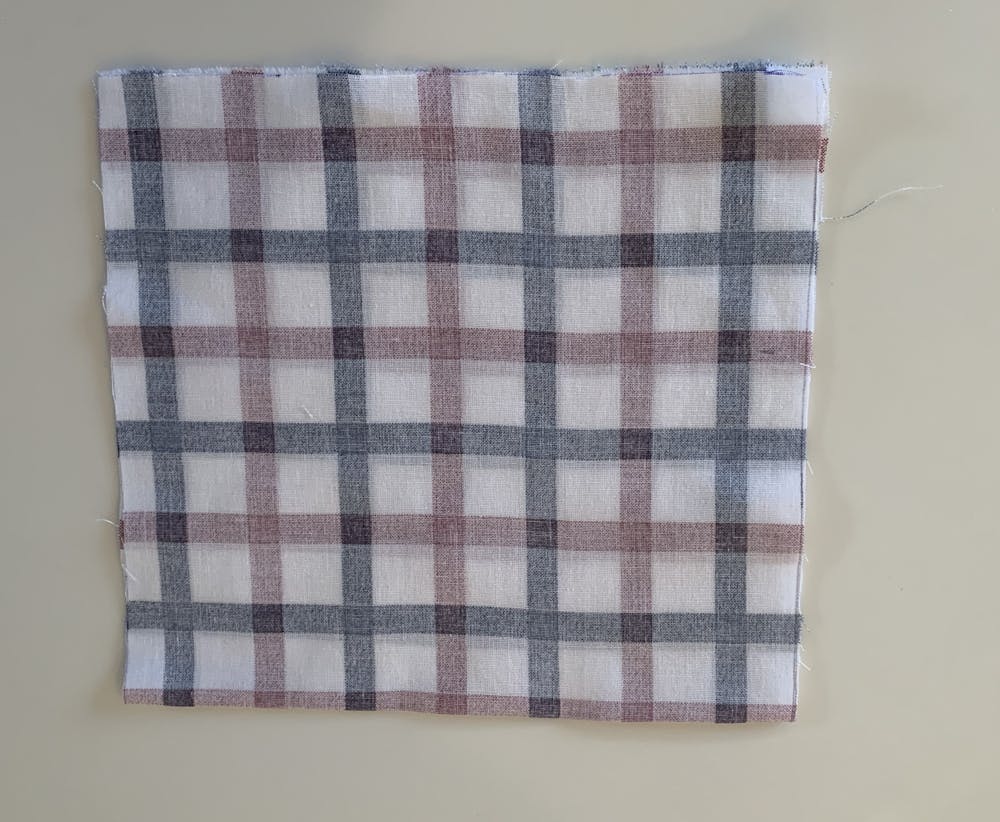
Step one: Cut a 15 x 8 inch cloth

Use a ruler to measure a rectangle of cloth that is about 8 inches long and 15 inches wide. Then cut the rectangle out with scissors.
Selecting your cloth is where you can truly be creative and showcase your personality. In terms of cloth, some suggestions include bedspreads, T-shirts or bandanas. A Wake Forest University research study comparing cloth used for homemade masks found that “quilter’s cotton” — 100 percent cotton fabric — with a thread count above 180 performed the best in terms of filtration of viral particles. However, medical professionals say that any mask is better than nothing, so don’t stress too much over what’s available. I used an old blue and red checkered bed sheet for a major Fourth of July aesthetic.
Step two: Fold cloth in half
Fold the cloth in half, short side to short side, otherwise known as hamburger style. If your cloth is very wrinkled, it may be helpful to use an iron to flatten the cloth — this will make the following steps a bit easier.
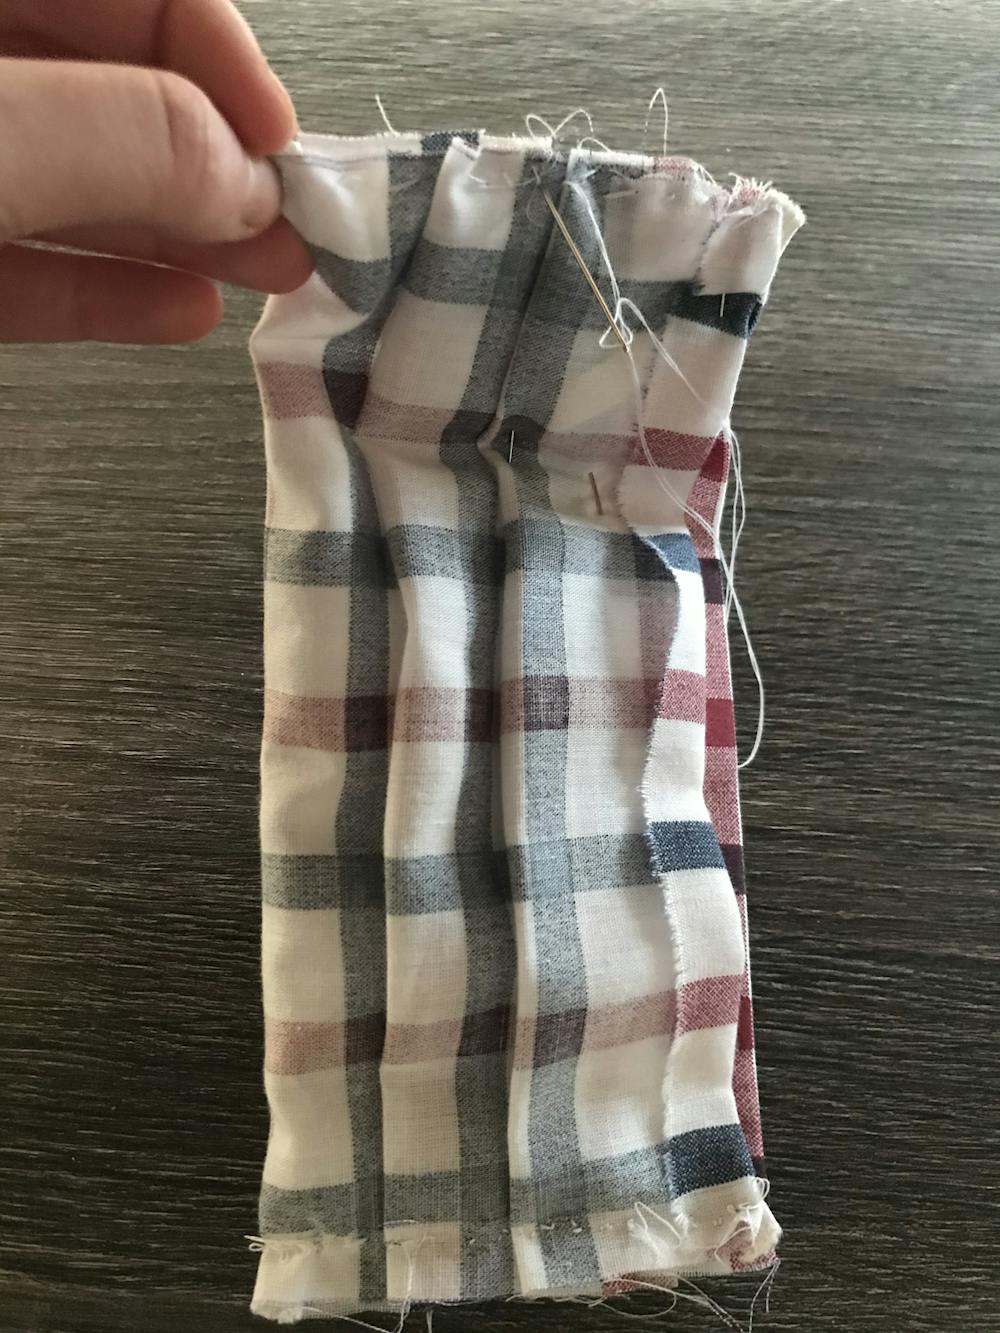
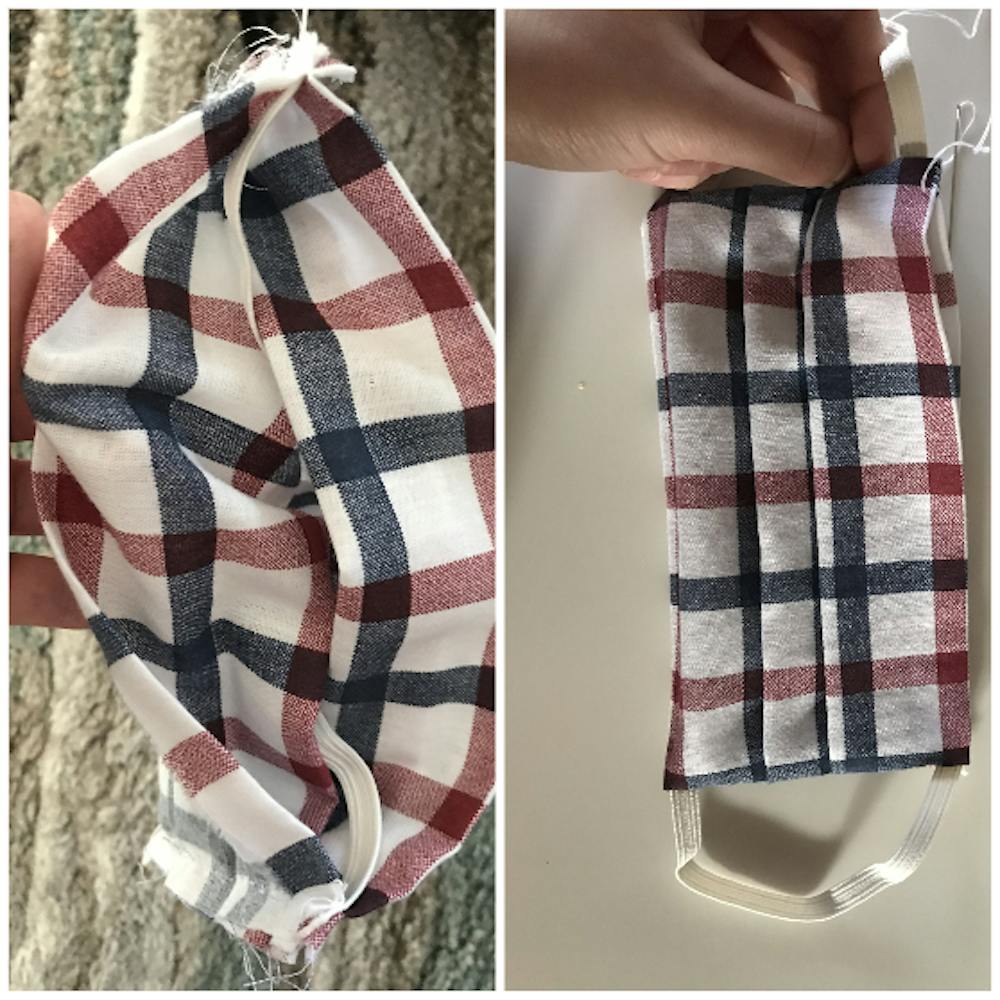
Step three: Create pleats

Fold each end of the cloth about half an inch inwards. Next, on one side, pinch a section of cloth upwards and then fold back down in order to create a pleat. You can create as many as can fit in the remaining space — I created two pleats and four ridges in total. Once you’re done folding, the cloth should look like an accordian.
Step four: Cut two elastic bands

Using your roll of elastic, cut two bands that are each about 6.5 inches long. Alternatively, unfold your cloth, lay it out vertically and cut two elastic bands that are nearly half the size of the full length of cloth.
Step five: Place elastic bands at opposite corners under each side of cloth

This step began to make the whole process a little tricky. If your cloth is completely laid out flat, place one elastic band at one corner. Rest the band along the edge of your cloth, so it lays about halfway up the side. Then refold the cloth by matching the furthest vertical edge from you to the closest vertical edge. Ultimately, the cloth should be back in the step three position.
Step six: Time to sew

I personally found it much easier to sew after utilizing pins to clip the elastic band in place to keep the band from falling out. Once you have threaded your needle, simply sew stitches on the edge of one open side of the cloth to the other open side, closing the space between the elastic band.
Step seven: Time to sew the other side
Slip the second elastic band under the cloth edge opposite of the sewn end and repeat step six. I recommend doing step six and step seven twice in order to ensure the stitches are secure and don’t fall out. Make sure to not make your stitches too tight, so that the mask can still be a little stretchy.
Step eight: Flip your cloth inside out
You’re almost done! Now, flip your cloth inside out, and every side of the cloth should now be closed except one. Next, you’ll simply sew the open side shut from one end to the other end.
Step nine: The end
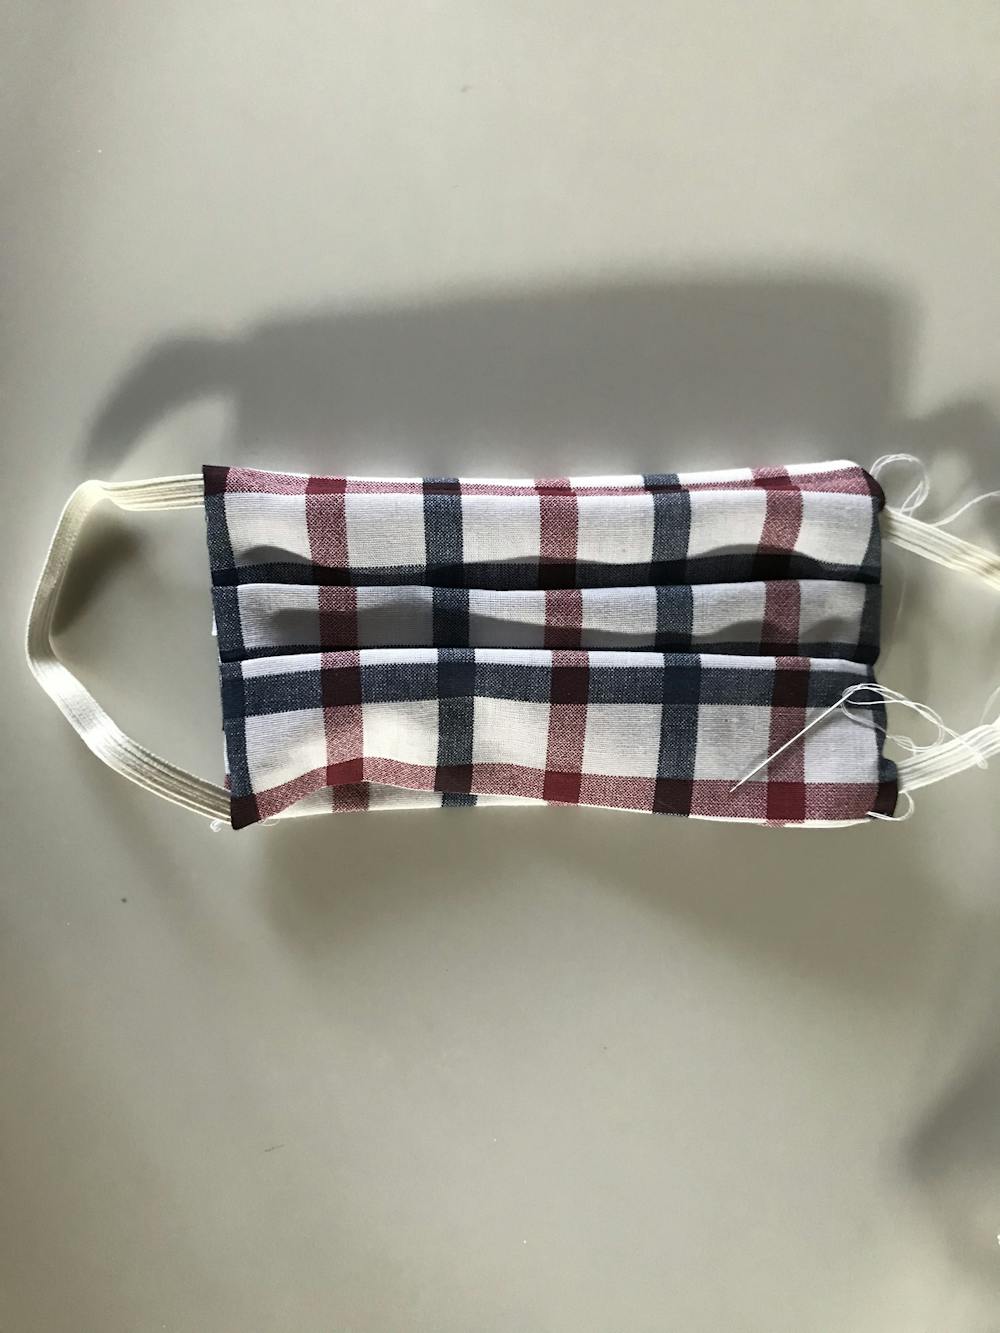
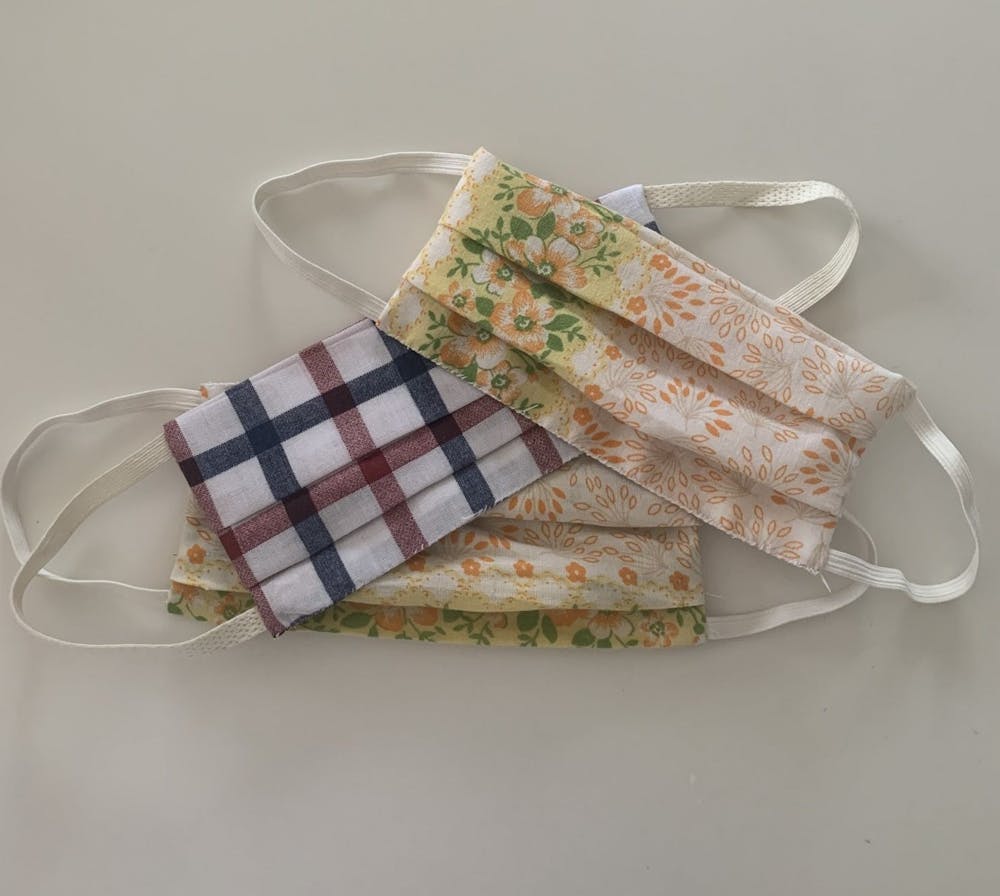
Congratulations — you now have a homemade mask!
Fortunately, all the aforementioned supplies happened to be lying around my house, but there are definitely substitutes available. For example, if you don’t have elastic, you could also try rubber bands by cutting the center to form a long and skinny tube of rubber. For a no-sew alternative, you can experiment with sliding a rubber band or hair tie onto each end of the cloth.
If your days have consisted of hours of pre-recorded lectures, awkward Zoom breakout rooms and scrolling mindlessly through the same apps, know that most of us are right there with you. Hopefully creating a mask will bring some sort of comfort, satisfaction or at least a well-deserved reprieve from technology.
Finally, I have to ask — time to shoot my shot — is “Project Runway” still looking for fashion designers?
Read More

Students balance pressure and preference when navigating the ‘rules’ of college dating
By Aditi Burra | 3 days agoFrom ephemeral encounters to long-term partnerships, University students approach romantic relationships with varying expectations and priorities.

Camellias Coffee and Tea is the place to be
By Minal Qazi | June 4, 2026From classic coffee, matcha and Hojicha and frappes to a vast array of teas, Camellias is certain to have something for even the most selective sippers.

What my female friendships have taught me about love
By Kendra Mickle | May 25, 2026When the time comes for me to explore dating, I will have clear standards and a strong sense of what I deserve, all thanks to the wonderful women who surround me.